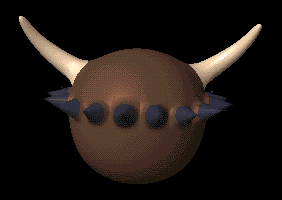
now we're ready to make the Viking.
page 2 of 3
| We've got the helmet made, now we're ready to make the Viking.
|

|
| In Volume Include mode, draw a box around the bottom half of the object. The polygons inside the box |

|
Leave the Volume selection box around these polygons.
| Open the Change Surface panel and enter settings for a skin tone such as these. |

|
| Smooth Shift again by -80 mm. |
|
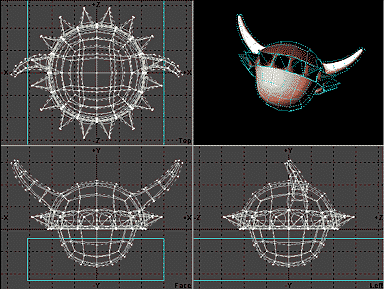
This completes the basic head shape, now we need to add
the details, like eye sockets, a nose, ears, and a mouth.
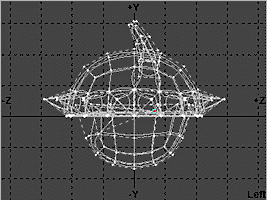
| Select the Point selection mode, and choose these two points in the Face view. |

|
This will actually select four points, so you'll need to deselect the points
at the back of the head in the Left or Top views.
| In the Left view, use the Move tool and move these points into the head and down slightly. |
|
This completes the eye sockets, now to make a nose.
| Deselect the eye points and select two for the nose. |

|
| Place the cursor on the top selected point and rotate to about -45 degrees. Now move these |

|
This puts the nose on the Viking, now for the ears.
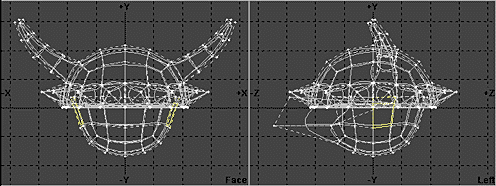
| Select two polygons for the ears. |
|
| Bevel with these settings to make the ears. |

|
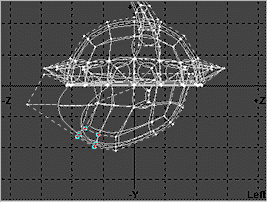
| Select the 15 points on the bottom left of the head. |

|
| In the Left view, move these points down about -80 mm and to the left about -120 mm. |

|
| In the Left view, deselect the right-most row of 5 points. |
|
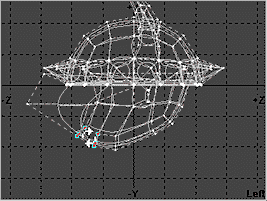
| Select the Rotate tool and place the cursor in the center of the selected points in the Left view. |
|
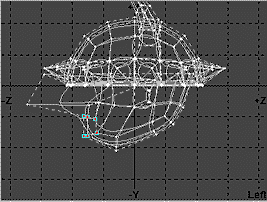
| Rotate the selected points about -60 degrees then move them up about 50 mm. |
|
This gives the Viking a good jaw line.
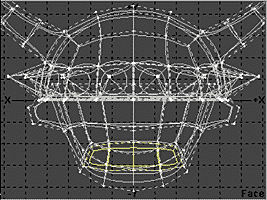
| Select the four polygons for the mouth. |

|
| Smooth Shift these polygons by -2 mm with a Max Smoothing Angle of 100 degrees. This adds the lip area. |
|
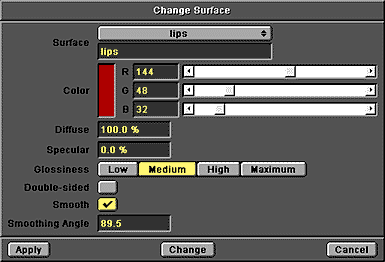
| Change these polygon's surface to the following values. |
|
| Select the Stretch tool and place the cursor in the center of the selected polygons in the Face view. Shrink the polygons |

|
| Smooth Shift again about -50 mm, then move the four selected polygons back into the head about 200 mm. |

|
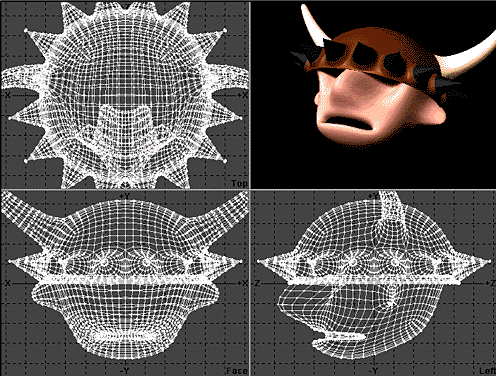
| Freeze the object and the Viking head and helmet are done. You can vary the We used a level |
|
 3D Page 3D Page
|
 Tutorials Tutorials
|
 Previous Page Previous Page
|
 Next Page Next Page
|