and change the Preview Type to OpenGL sketch.
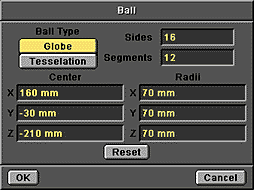
| Make a ball using these values in the numeric panel. |
|
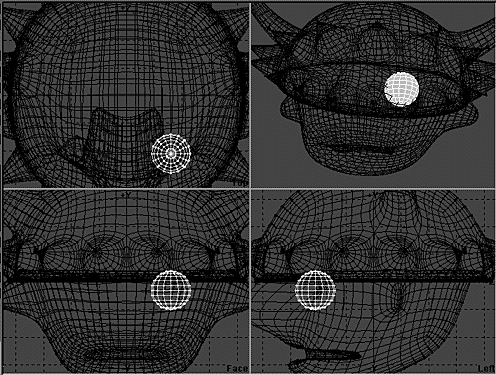
| The eye should line up with the head as shown in this screen shot. If it doesn't, |
|
The easiest way to do this is to use the shift+a
keyboard shortcut.
ball points to the front of the face. This will make it
much easier to surface the ball to look like an eye.
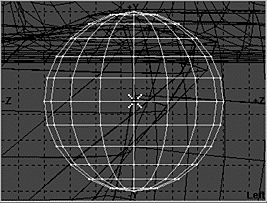
| The best way to do this is to place the cursor on the exact center of the ball in the Left view, then press the "r" key. |
|
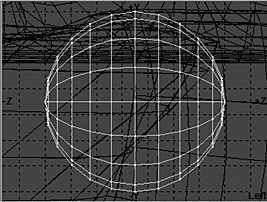
| This rotates the object 90 degrees around the location of the cursor. |
|
| Change all the polygon's surface to these values. |
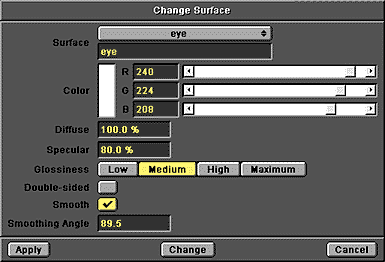
|
| Go back to OpenGL mode and select the center circle of polygons. Change the surface name |

|
| Select the ring of polygons around the pupil. Name them "iris" and |

|
| Select the Rotate tool, place the cursor in the center of the eye in the Top view, and rotate about -4 degrees. |

|
| To make the right eye, zoom back out, and mirror across the X axis. |
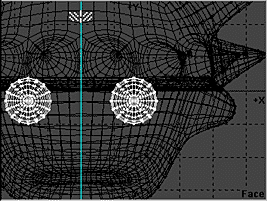
|
| Cut the eyes and paste them in the layer with the head and our Viking is done. |

|
 3D Page
 Tutorials
 Previous Page
 No Next Page