Making the Helmet

page 1 of 3


Get the Basic Helmet Shape

  1. Start Modeler. On the Display Options panel,
    set the Preview Type to OpenGL Smooth Shaded.


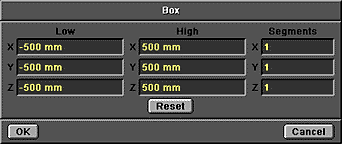
  2. Make a box using
    the default dimensions
    in the numeric panel.


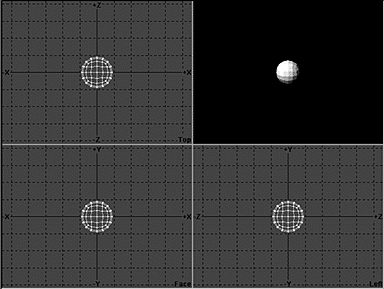
  3. Metaform the
    box twice.


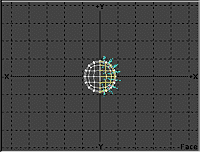
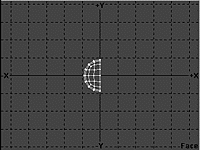
  4. In the Face view,
    select all the polygons
    on the right side
    of the box and
    delete them.

    We will make the left
    half of the helmet first,
    then mirror it to
    get the right half.

    Face View Before Face View After


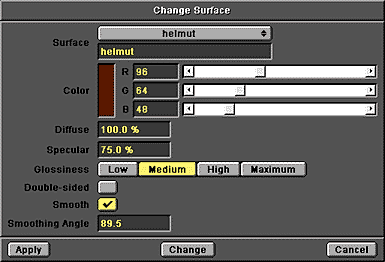
  5. Open the Change
    Surface panel and
    enter these settings.

    Make sure to
    rename the surface.


  6. Autofit the box, and press the Tab key to turn
    the polygons into MetaNURBS surfaces.

    Now we're ready to make a horn for the helmet.


Make a Horn

  1. Select a polygon to
    make into the horn.


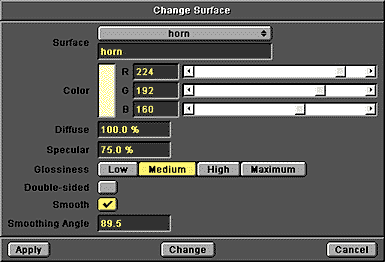
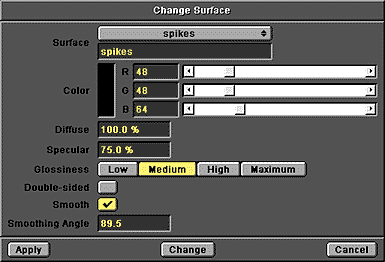
  2. Open the Change
    Surface panel and
    enter these settings.


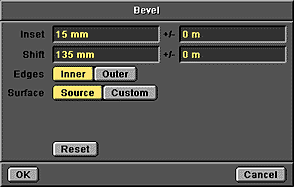
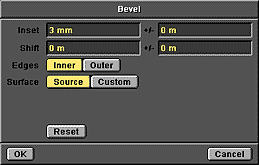
  3. Bevel this polygon
    five times using
    these settings.

    This gives us a
    straight horn.

    Now we need to select and bend it.


  4. Autofit and deselect the tip
    polygon by clicking in a
    blank area on the menu bar.

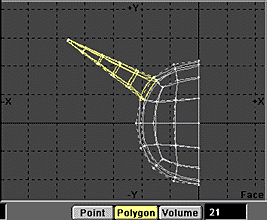
    Select the polygons in the horn
    using the right mouse button lasso
    in the Volume Include mode.

    Alternatively, you can just drag
    the cursor over the polygons of
    the horn to select them.

    If you use this method,
    you should see 21 polygons
    selected in the window next to
    the selection function buttons.


  5. Select the Bend tool. Open its numeric panel and change
    the Sense to - (negative) and click Keep, not Apply.

    This will make the tip, not the base bend.


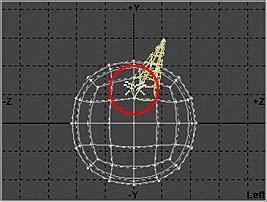
  6. Place the cursor at the
    bottom left of the horn
    in the Left view.


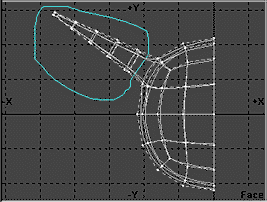
  7. Drag up and to the left to
    an angle of about 70 degrees.

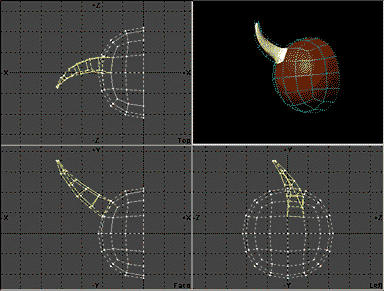
    This completes the horn.

    Autofit and deselect the
    polygons by clicking first
    on the Polygon selection
    button and then in a
    of blank area the menu.


Add Helmut Spikes

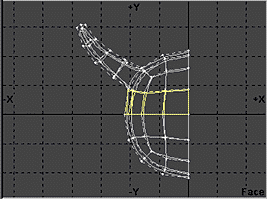
  1. Now we're ready to put the spikes on the rim of the helmet.

    Select the band of
    polygons under the
    horn in the Face view.


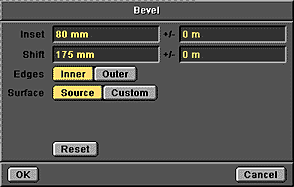
  2. Bevel them with these
    settings to set the
    base of the spikes:


  3. Now change
    their surface.


  4. Bevel again to make
    the spikes stick out.


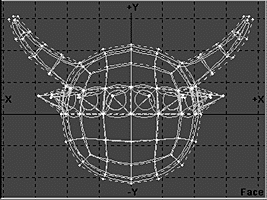
  5. Deselect the tips of
    the spikes, and mirror the
    half across the X axis to
    get the whole helmet.


  6. Autofit and merge points to smooth the seam
    down the middle of the helmet.

    Sixteen points should be eliminated.

This completes the helmet; now we're ready to make the character head inside it.
3D Page Tutorials Previous Page Next Page