| Start Modeler. On the Display Options panel, set the Preview Type to OpenGL Smooth Shaded. (Amiga users use Moving Preview.) |
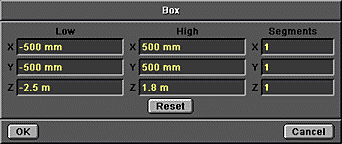
| Make a box with these dimensions. This is the jet's fuselage. |
|
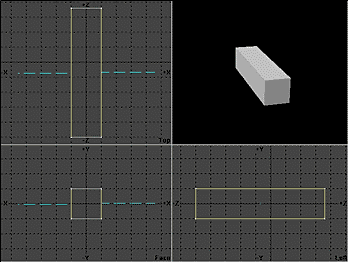
| Select the two polygons perpendicular to the X axis. These are the sides of the plane. |
|
| Bevel these polygons with these settings. | 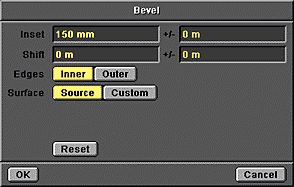
|
| Bevel them again with these settings. | 
|
| We've just created what will become the engines. | 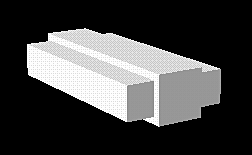
|
| Bevel these polygons again with these settings. | 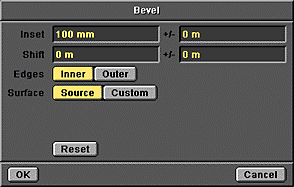
|
| Open the Stretch numeric panel and enter these values. This determines the thickness for the wings. |

|
| If you wanted to, you could have done this with the mouse using the Stretch tool in the Left view. | 
|
| Bevel these polygons with these settings. | 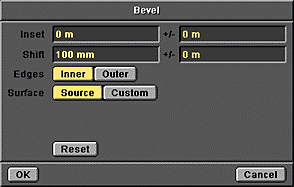
|
| We will make small bevels like this several times throughout the tutorial. These bevels help sharpen the curves where two sections of the plane meet. |
| Bevel these polygons again with these settings. | 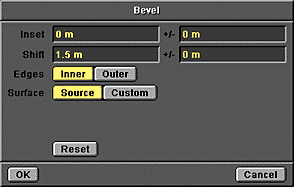
|
| This makes the wings. | 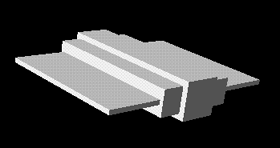
|
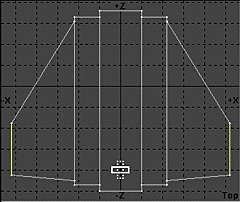
| Select the Stretch tool. Place the cursor near the back of the plane in the Top view and stretch to a Z of 0.33. Coordinates Window
|
|
| To sharpen the ends of the wings, bevel once more. | 
|
| Deselect all polygons and press the Tab key to activate MetaNURBS. | 
|


 http://www.newtek.com/3d/tutorial/Jet/jet1.html (Amiga Plus Extra No. 5/97, 05/1997)
 3D Page
 Tutorials
 Title Page
 Adding the Rudder