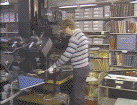
 Placing the original beneath the camera.
You can see the computerized camera stand
and the PC (to Ernie's right).
A unique identifying number for the item to be photographed
has been entered on the PC.
The operator is wearing white gloves.
Here is a description of the image capture process used for creating the laser videodisc, exemplified in a series of images of camera operator Ernie Smith at work:
 Placing the original beneath the camera.
You can see the computerized camera stand
and the PC (to Ernie's right).
A unique identifying number for the item to be photographed
has been entered on the PC.
The operator is wearing white gloves.
 The operator centers and squares the image on the camera stand.
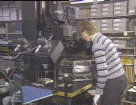 The operator picks up the sonic marking pen.
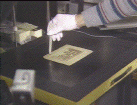 Marking the upper left-hand corner with the sonic pen.
This information is fed into the PC.
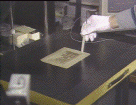 Marking the lower right-hand corner with the sonic pen.
The PC controls the camera stand,
automatically focusing and sizing the image to fill the viewfinder.
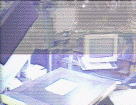 The halogen strobe lights flash as the photograph is taken.
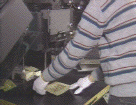 The operator removes the original material from the
camera stand.
There is a (silent) MPEG-1 full-motion video clip of this process (12MB).
 The front entrance of the NLM (Building 38) in spring.
Walk in this entrance and turn right to find the History of Medicine Prints
and Photographs Collection.
 Barcode labels being printed.
Catalogers pull material to be photographed from the collection and
affix to each item a barcode (printed on acid-free paper) which contains
a unique identifier.
Simultaneously,
they enter basic descriptive information about the picture into the
catalog database.
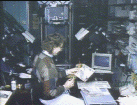 The camera operator selects the collection item
to photograph next.
 The operator scans the unique-identifier barcode with
a light pen.
This allows the PC to log the location of the picture on the film.
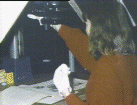 The operator photographs the image.
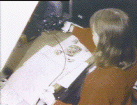 The operator photographs the image.
 The operator photographs the image.
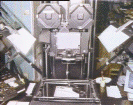 The camera set-up from the point of view of the operator.
The magazine above the camera contains 400 feet of 35 mm film
(color or black-and-white).
The stand is motorized under computer control,
and moves up and down to control the size of the image on the film.
The strobe lights can be seen to either side.
To maximize resolution of the final photographic image,
objects are always placed so that their long axis is parallel to the long
axis of the 35 mm film frame.
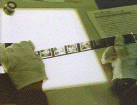 The original film (color or black-and-white negative)
is processed, duplicated onto another roll of film (the "internegative"),
and then placed in a cold storage vault.
A positive "work print copy" is made from the internegative.
Here the operator inspects the work print copy with white gloves.
 The operator, hunched over a light tabletop,
inspects the film closely with a loupe to ensure that it is well focused,
that colors are accurate,
and that there are no scratches or undesirable artifacts.
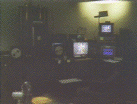 Video transfer station (Stokes Imaging Services,
Austin, Texas).
A PC (dark blue screen) controls the video transfer station,
seen here in a darkened room.
The smaller screen sitting above the PC monitor shows a digital RGB
version of the image.
The large screen to the left of the PC shows the NTSC signal which will
be transferred to analog video tape.
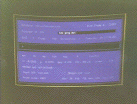 Here is the monitor of the PC which controls the video
transfer station.
 The video transfer station seen with the room lights on.
The camera set-up can be seen on the left,
and the PC array on the right; the NTSC monitor sits between.
A Sony video camera is used to image a copy of the original film.
The computer has the unique identifier for each image in its database,
and automatically positions the film.
The catalog information also indicates if the picture is horizontally or
vertically disposed on the film,
and the Sony camera automatically rotates
so that the video image is oriented correctly.
The system also knows if the image is negative or positive
(black-and-white materials were captured in negative,
and electronically reversed to positive images).
The video camera signal is captured by a Targa board on the PC,
and a gray border is added to fill the remainder of the frame.
Manual adjustments to the image are made (contrast, color, positioning).
Laboriously created color look-up tables assist in this process.
The final image is now captured by an Abekas digital still-storage unit.
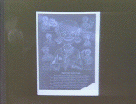 Frame 855 (Side A), in negative, as captured
by the video camera.
Frame 855 (Side A)
after electronic conversion to a positive image.
 The operator at the controls of the video transfer station.
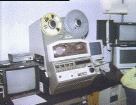 The tape deck employed by the video transfer station.
When approximately 700 images have been stored on the Abekas still-storage unit,
the digital images are transferred to 1-inch C-format (analog) video tape
(unfortunately for the later OnLine Images project,
the digital versions of the images are not retained on tape).
The analog video tapes are checked at the NLM and then sent out for
laser videodisc duplication.
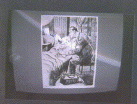 A completed black-and-white cartoon image on the NTSC display screen.
 A completed color image on the NTSC display screen.
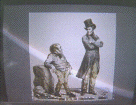 Another color Image on the NTSC display screen.
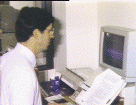 Dan Masys at work, programming the initial database
and control mechanism using Dbase III+ and Clipper.
Project Supervisor Bill Leonard confers with
Alternate Project Officer James Main.