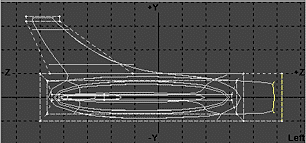
| Select the front polygon and bevel it with these settings.
Bevel settings
|
|
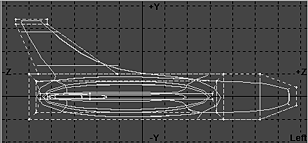
| Bevel again with these settings. Bevel settings
|
|
| Select the second set of points from the front. | 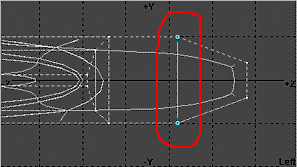
|
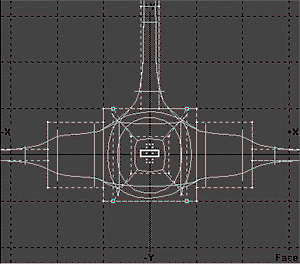
| Select the Stretch tool. In the Face view, place the cursor in the center of the selected points and stretch in the X axis to about 0.8, leaving Y and Z at 1. |
|
| This gives nice shape to the nose area. | 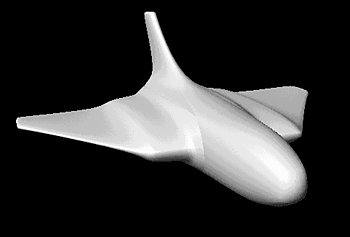
|
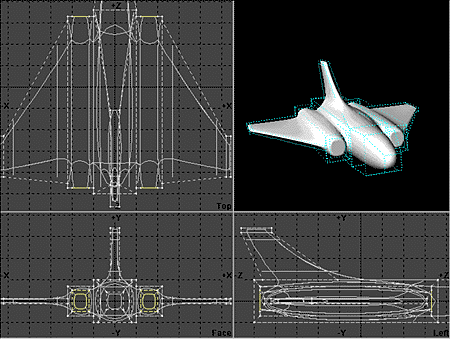
| Select the front and rear polygons of the engines and bevel them with these settings. Bevel settings
|
|
| Bevel them again to make the intake and exhaust openings. Bevel settings
|

|
| Select the 20 points at the front of the plane. | 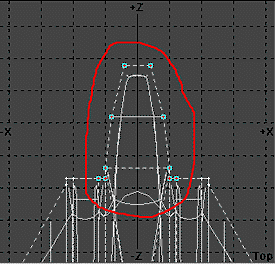
|
| Move them forward about 800 mm. | 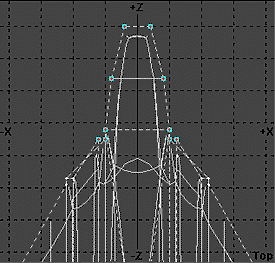
|
| Freeze the plane and we're done. You can vary the amount of smoothness of the freezing by changing the Patch Division level on the Data Options panel. We used a level of 5 for this tutorial. |

|


 http://www.newtek.com/3d/tutorial/Jet/jet3.html (Amiga Plus Extra No. 5/97, 05/1997)


 3D Page
 Tutorials
 Adding the Rudder
 No Next Page